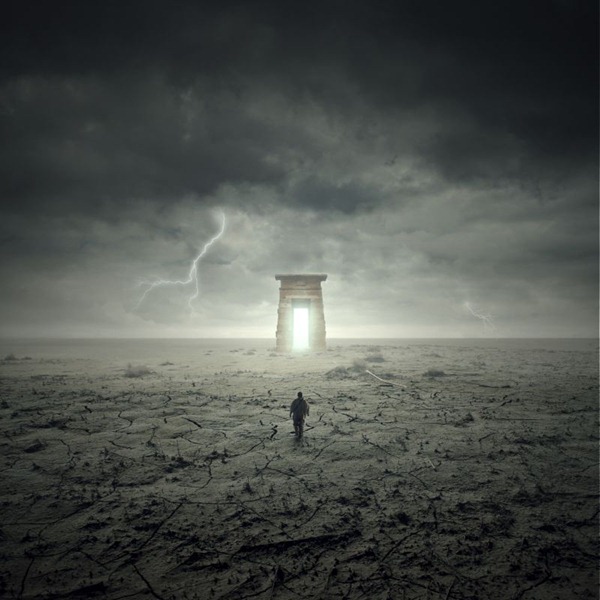
 Learn how to create an stormy landscape with a portal to another dimension. This tutorial will show you how to blend images using blending modes and use brush sets to create a stormy desert scene.
Preview of Final Results

Minimalist Portal Scene Photoshop Tutorial
Resources
- Premade 10 - night-fate-stock
- Premade 4 - night-fate-stock
- Lightning Bolt Brushes V1 - GhostFight3r
- Arch Gate 07 - Dralliance-Stock
- Walking on Ice 1 - Arctic Stock
- Stock Field - digital amphetamine
Step 1: Create a New Photoshop Image File
Okay, to start, let's create a new image file, go to the Menu bar and click File > New, and then input the following values on their respective fields:
- Width: 3000px
- Height: 3000px
- Resolution: 300pixels/inch
- Color Mode: RGB Color; 8 bit
- Background Contents: Transparent

Step 2: Create the Desert
For our second step, we will be creating the desert which will serve as the foreground of our picture. To start, open the image "premade 10" by night-fate-stock. Once you have it open, simply activate the Rectangular Marquee Tool by pressing M on your keyboard and then create a selection area as shown on the image below:

After you've made the selection area, activate the Move tool by pressing V on your keyboard and click on the selected region and drag it to our canvas. Once moved to our canvas, the desert should look like this:

Once you're done with that, rename this layer to "desert". To rename a layer, simply double-click on the words: "layer 1" (that is our sea image) to prompt a text box to appear. Once that appears, you may now rename the layer.
We should now resize it. To be able to do that, activate the Transform tool by pressing Ctrl/Cmd + T on the keyboard. Doing this will prompt a square with little squares on the corners and sides of the image. Now, we can resize the image. See the image below on how to resize it:

The result should be similar to this:

Step 3: Create the Sky
In this step, we will be creating our sky. To start, let's open "premade 4" by night-fate-stock. Activate the Rectangular Marquee Tool (M) and then create a selection area around the image's sky. See image below:

Once you're done, activate the Move tool (V) once again and then drag it to our canvas. Rename this layer to "sky 1". Once done, drag and put this layer below the "desert" layer. Position it as shown below:

Now, activate the Transform tool (Ctrl/Cmd + T) and let's transform "sky 1". See image below:

The result should be similar to this:

Now, that's it for "sky 1". Let's now add our other sky. We're going to blend these skies together to form a dark and stormy sky. Open "stock field" by digital amphetamine. We're going to the same step like we did in our previous step. Activate the Rectangular Marquee tool (M) and create a selection area around the sky, as shown in the image below:

Now that that's done, activate the Move tool (V) and drag this selected sky to our canvas. Rename it then to "sky 2". Make sure that "sky 2" is above the "sky 1" layer. Next, activate the Transform tool (Ctrl/Cmd + T) and resize it as shown below:

The result:

Now, does that look like a stormy sky? It doesn't, right? So let's blend "sky 2" with "sky 1" to produce such a sky. To start, click on "sky 2" and change its blending mode from Normal to Multiply. See images below:

Now, click on Multiply.

We wouldn't want it to the dark, so let's reduce the Opacity to 70%.

The result should be similar to this:


0 komentar:
Posting Komentar