 In this tutorial, we are going to learn how to create a magical town where books are roads and whales swim under the clouds, where windmills float and magic wielders live. We are going to learn how to blend images so seamlessly that it would look like a single image using the Brush tool, the Eraser tool and several adjustment layers. We are going to learn how to make images appear when they are covered by the clouds, smoke, etc. We are also going to learn how to blend textures to an image to drastically improve the look and feel of the overall image.
Preview of Final Results
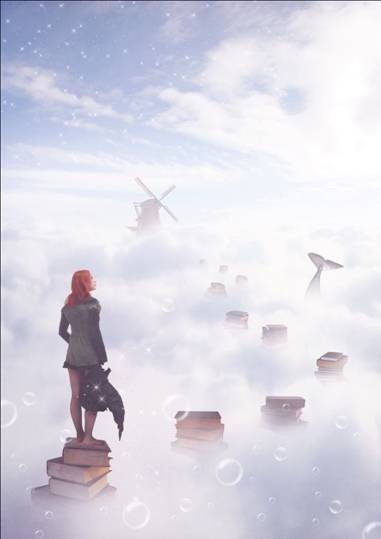
Download the PSD
Magical Town.zip | 218.86 MB
Download from FileSonic
Download from Website
Magical Town in the Clouds Photoshop Tutorial
Resources
- Switzerland 01 - drakedrakedrakestock
- landscape 56 - night-fate-stock
- Books pack 3 - TwilightAmazonStock
- Books pack 4 - TwilightAmazonStock
- Witch 4 - Meltys
- Texture 119 - Sirius_sdz
- Paper Texture 1 - Wojtar Stock
- Sperm whale 2 - hawksmont
- Windmill stock 4 - shoofly-stock
- Starfield brush set - gvalkyrie
Step 1: Create a New Photoshop Image File
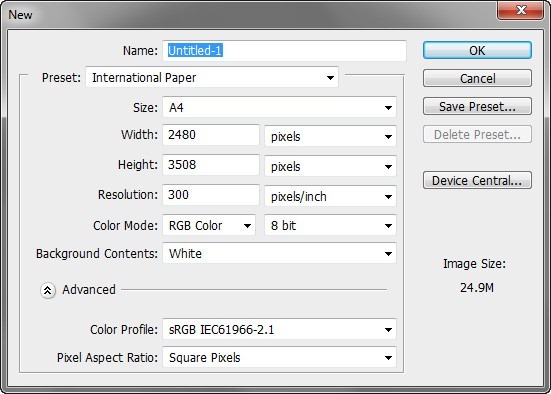
Let’s begin by creating a new image file, go to the Menu bar and click File > New, and then input the following values on their respective fields:
- Presets: International Paper
- Size: A4
- Width: 2480 pixels
- Height: 3508 pixels
- Resolution: 300 pixels/inch
- Color Mode: RGB Color; 8 bit
- Background Contents: White
Step 2: Create the Sky
In this step, we will be creating the desert which will serve as the foreground of our picture. To start, open the image “Switzerland 01” by drakedrakedrakestock. Once you have it open, simply activate the Move tool by pressing V on your keyboard and left-click on this image and drag it to our canvas. Move it and position it as shown on the image below:
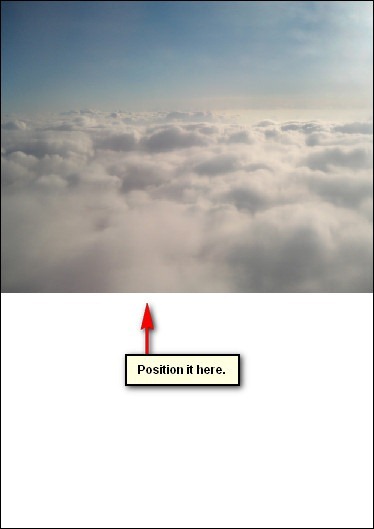
Once on the canvas, rename this layer to: “Clouds”
Note: To rename a layer, simply double-click on the words: “layer 1” (which is our layer - clouds) to prompt a text box to appear. Once that appears, you may now rename the layer.

Now, let’s resize the “clouds” layer to fit nicely on our canvas, and to do that, activate the Transform tool by pressing Ctrl/Cmd + T while the “clouds” layer is active.
Doing this will prompt a square with little squares on the corners and sides of the image. Now, we can resize the image. See the image below on how to resize it:
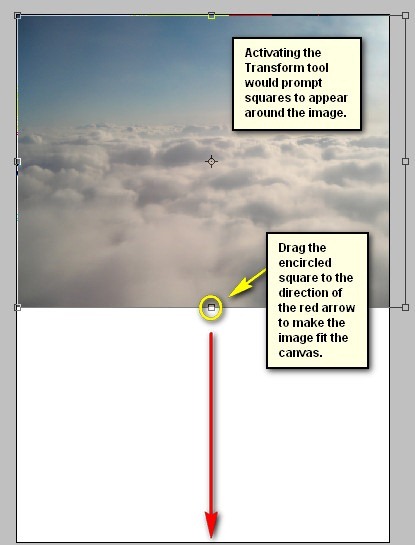
The result should be similar to this:
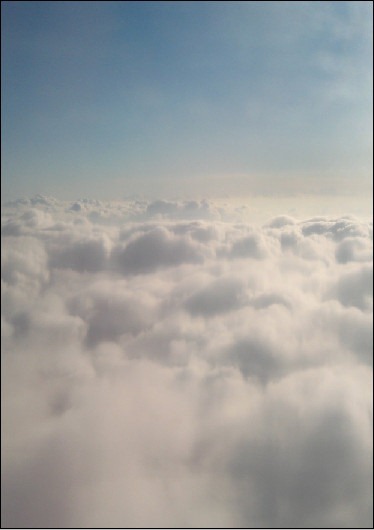
After transforming, let us now enhance the brightness and contrast of our image. To do that, go to Image > Adjustments > Brightness/Contrast (make sure that the “Clouds” layer is still active).
Once the Brightness/Contrast menu is open, input the following:
- Brightness: 50
- Contrast: 25
- Legacy: Uncheck
After hitting OK, you would see a drastic change on our image, it is much brighter now. See image below:
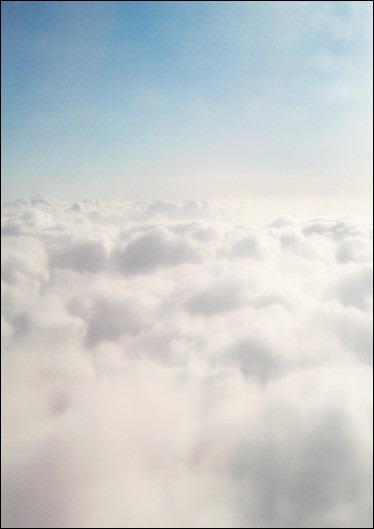
Next, let’s adjust the colors of the “clouds” layer. With the “clouds” layer selected, go to Image > Adjustments > Color Balance. Once you have the Color Balance menu open, input the following:
- Color Levels: -24, +16, +63
- Tone Balance: Midtones
- Preserve Luminosity: Check
The result should be similar to the following:

Next, let’s give it brighten it up more and reduce the saturation a little. With the “clouds” layer selected, go to Image > Adjustments > Hue/Saturation and input the following:
Hue/Saturation:
- Hue: 0
- Saturation: -15
- Lightness: +20
The result:
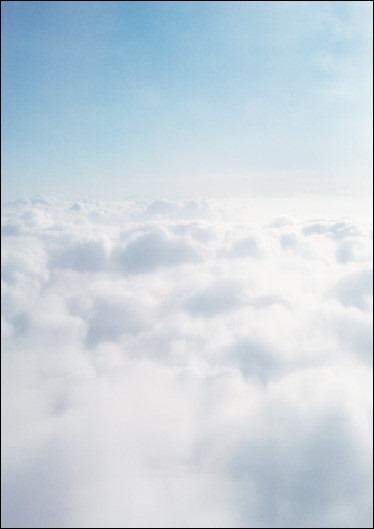
Now that we’re done with the “clouds” layer, let’s now change that layer’s sky. Let’s make the sky more eye-catching for our viewers. To start, open “landscape 56” by night-fate-stock. Once open, activate the Rectangular Marquee Tool by pressing M on your keyboard.
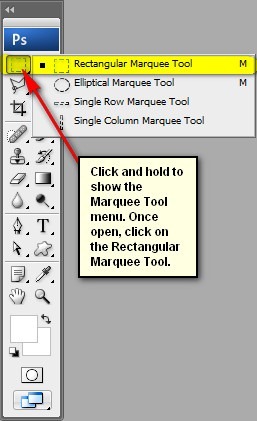
Use the Rectangular Marquee Tool (M) to create a selection area over the sky of “landscape 56”. See image below:
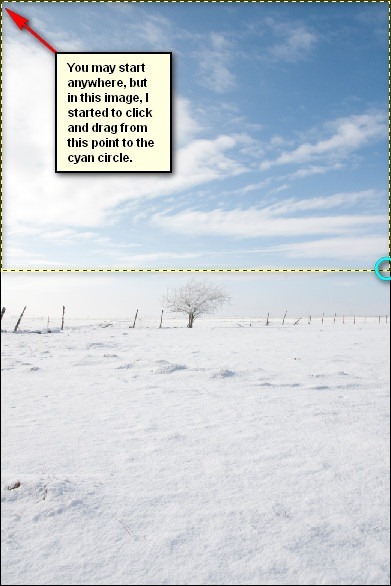
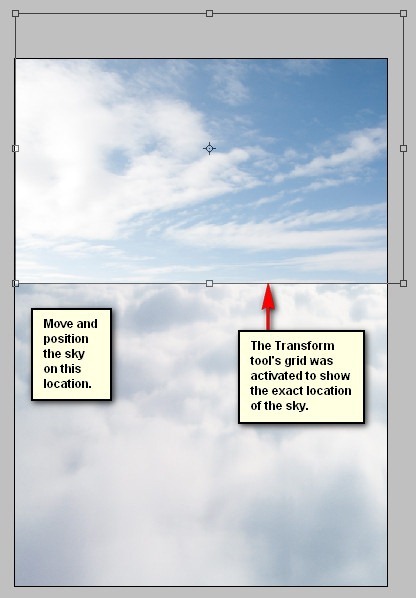
Now that you’ve created a selection area, activate the Move tool (V) and drag it to our canvas. Once on the canvas, rename this layer to “sky”. Next, position it as shown on the image below:


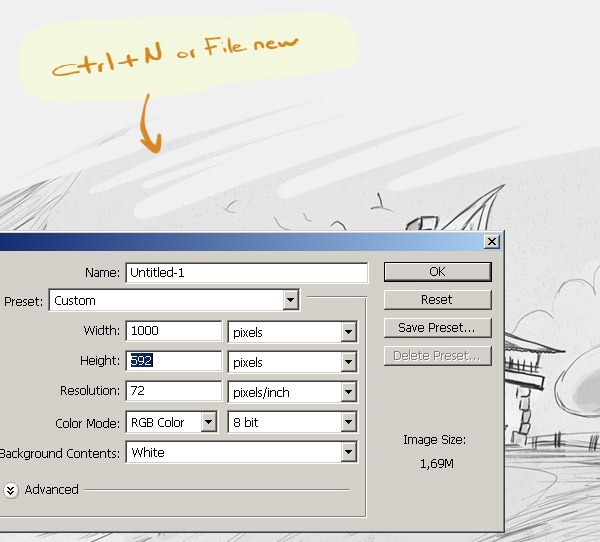
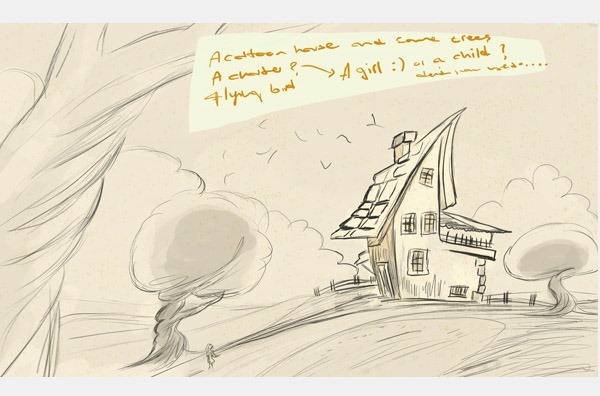
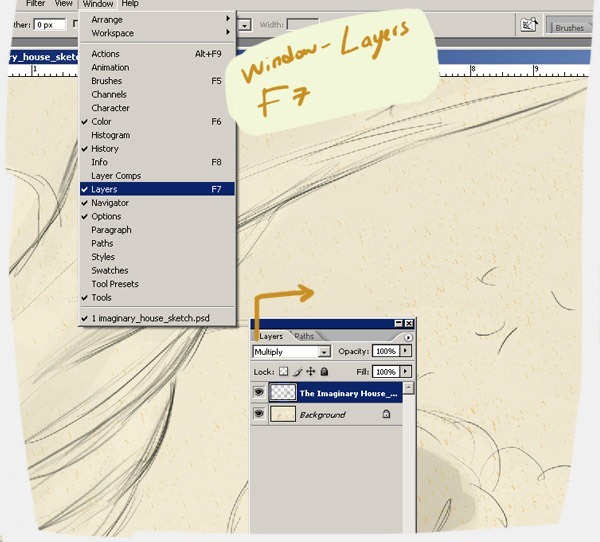
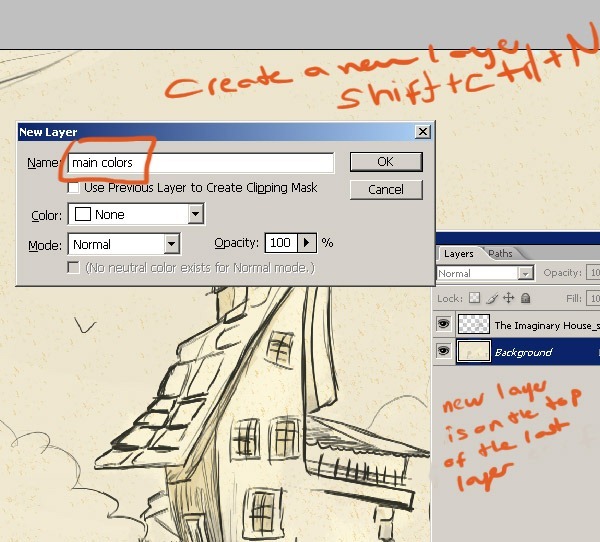
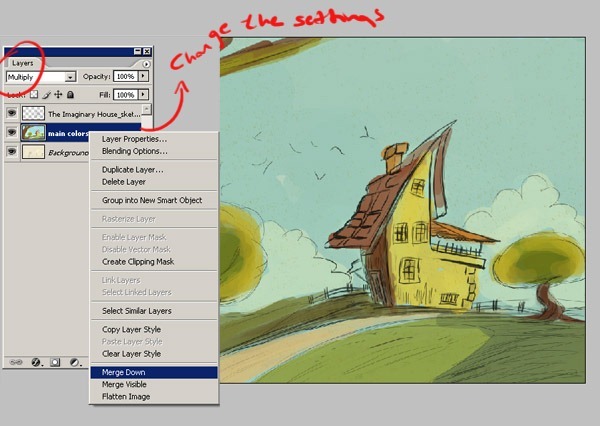
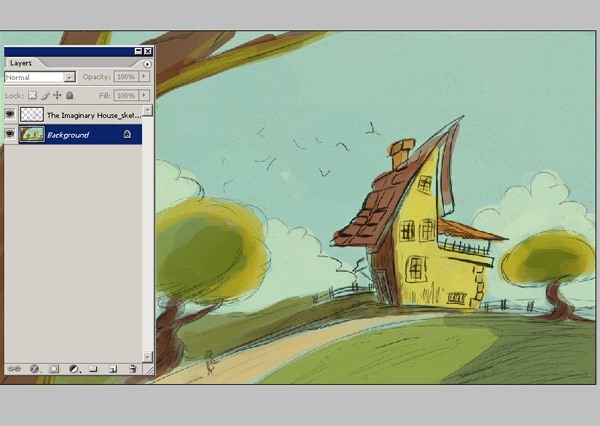
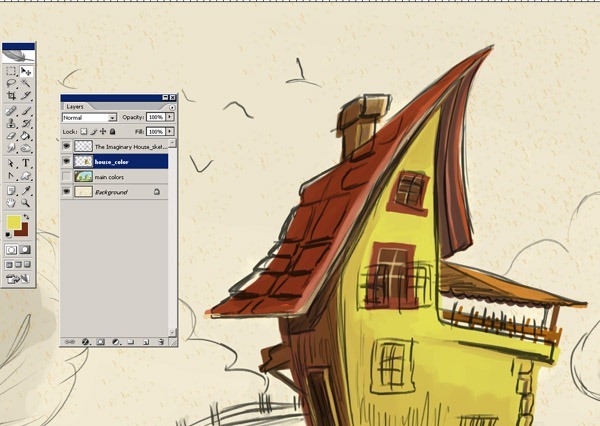
 With this tutorial, I am going to explain the process of painting which I have called, "The Imaginary House". I will go into detail and show my working process and what tools I prefer to use. When you finish this tutorial, you'll gain a comprehensive understanding of how to develop a concept sketch.
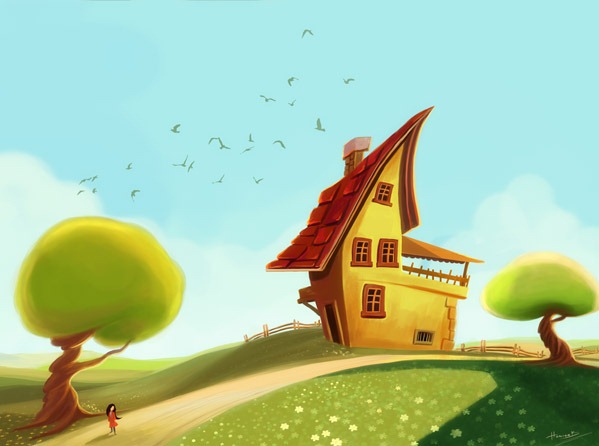
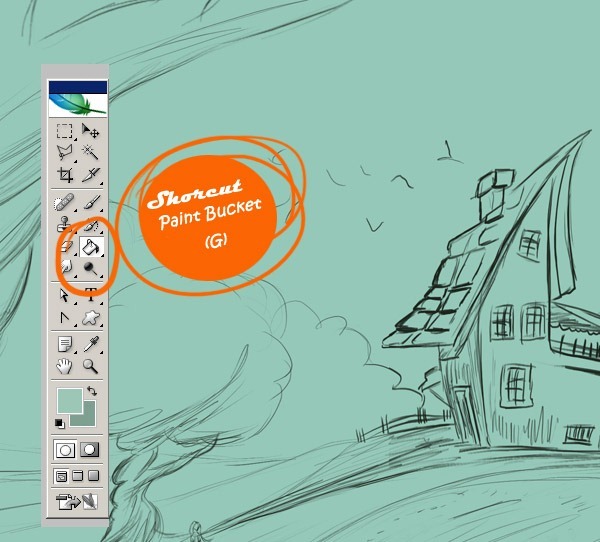
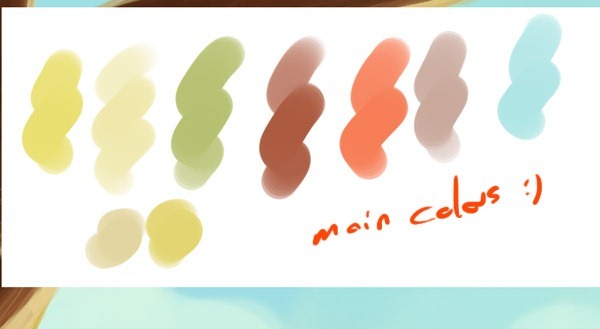
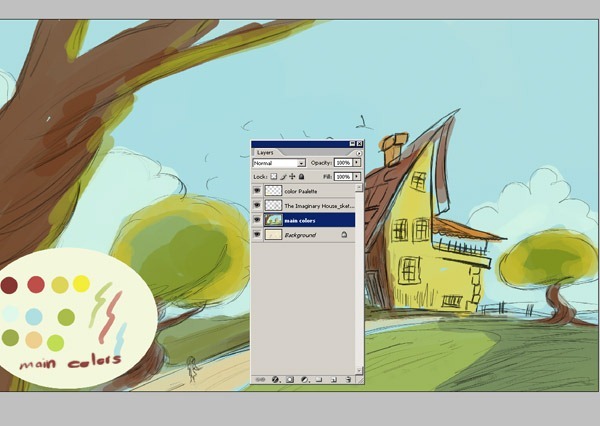
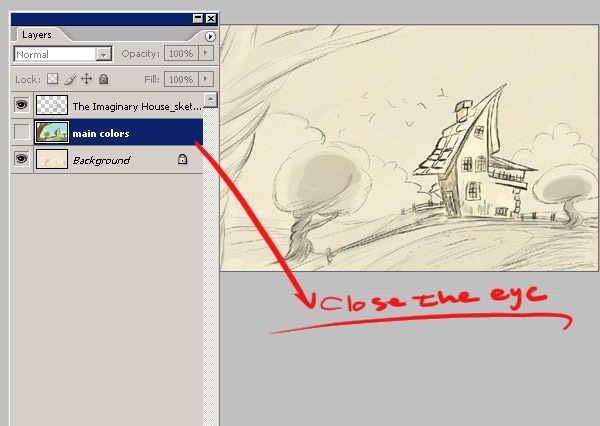
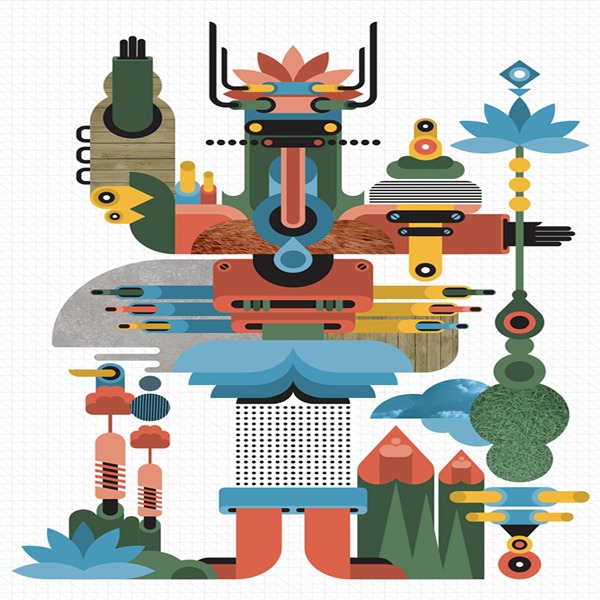
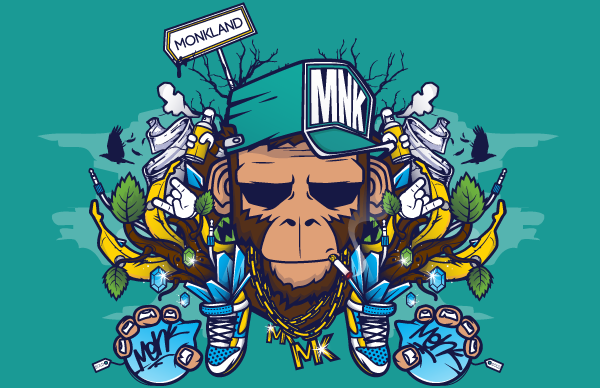
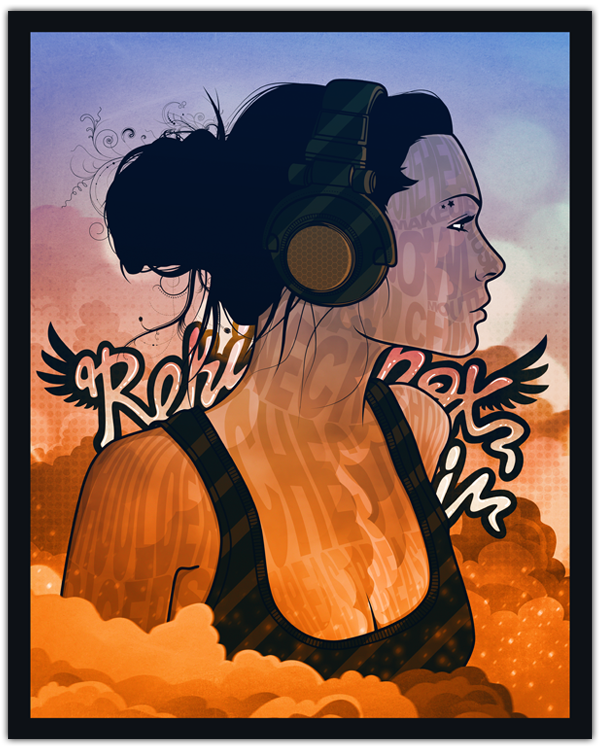
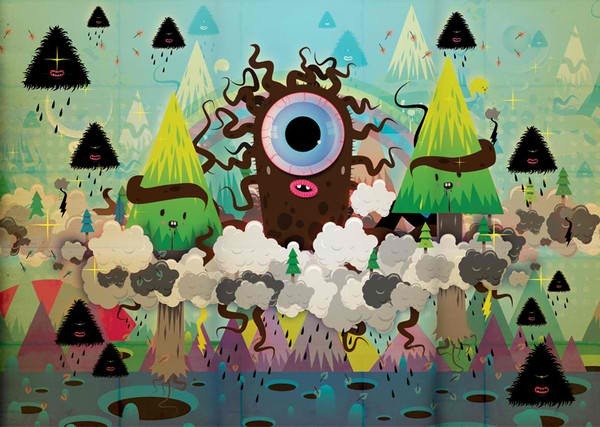
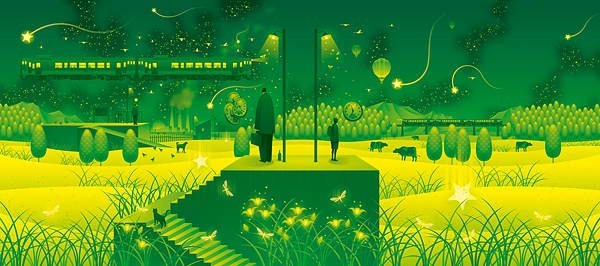
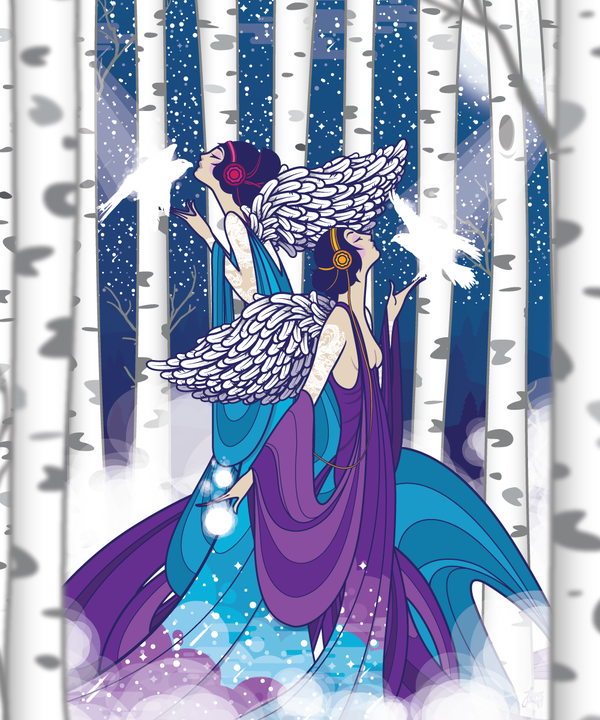
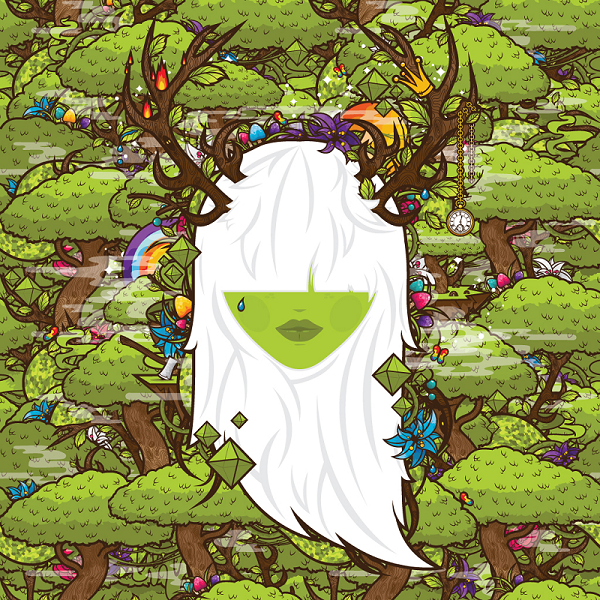
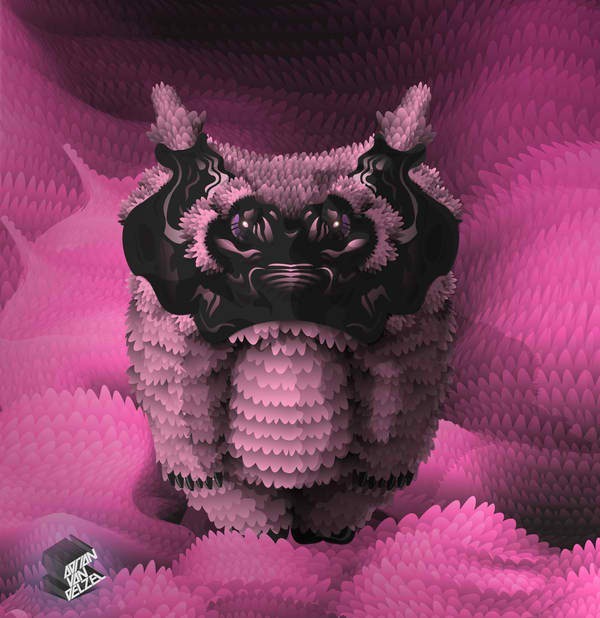
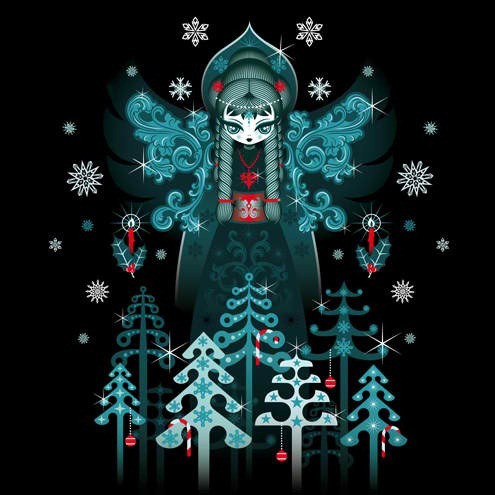
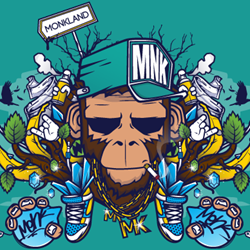 For this post, I have collected a couple of vector illustrations to feast your eyes on for inspiration. The artistry in these vectors is amazing, and the artist's vision is awe-inspiring.










 Learn how to create a beautiful Koi Fish and flower design with Adobe Illustrator and Adobe Photoshop. This tutorial will show you the basics of creating shapes and how to shade using tools and gradients.
![final-results[14] final-results[14]](http://photoshoptutorials.ws/images/stories/b6c33ab10576_146E1/final-results14.png)
![step-001[12] step-001[12]](http://photoshoptutorials.ws/images/stories/b6c33ab10576_146E1/step-00112.png)
![step-002[12] step-002[12]](http://photoshoptutorials.ws/images/stories/b6c33ab10576_146E1/step-00212.png)
![step-002a[12] step-002a[12]](http://photoshoptutorials.ws/images/stories/b6c33ab10576_146E1/step-002a12.png)
![step-003[12] step-003[12]](http://photoshoptutorials.ws/images/stories/b6c33ab10576_146E1/step-00312.png)
![step-004[12] step-004[12]](http://photoshoptutorials.ws/images/stories/b6c33ab10576_146E1/step-00412.png)
![step-005[12] step-005[12]](http://photoshoptutorials.ws/images/stories/b6c33ab10576_146E1/step-00512.png)
![step-006[12] step-006[12]](http://photoshoptutorials.ws/images/stories/b6c33ab10576_146E1/step-00612.png)
![step-007[12] step-007[12]](http://photoshoptutorials.ws/images/stories/b6c33ab10576_146E1/step-00712.png)
![step-007a[12] step-007a[12]](http://photoshoptutorials.ws/images/stories/b6c33ab10576_146E1/step-007a12.png)
![step-008[12] step-008[12]](http://photoshoptutorials.ws/images/stories/b6c33ab10576_146E1/step-00812.png)
![step-008a[12] step-008a[12]](http://photoshoptutorials.ws/images/stories/b6c33ab10576_146E1/step-008a12.png)
![step-008b[12] step-008b[12]](http://photoshoptutorials.ws/images/stories/b6c33ab10576_146E1/step-008b12.png)
![step-008c[12] step-008c[12]](http://photoshoptutorials.ws/images/stories/b6c33ab10576_146E1/step-008c12.png)
![step-008d[12] step-008d[12]](http://photoshoptutorials.ws/images/stories/b6c33ab10576_146E1/step-008d12.png)


