 In this tutorial, we are going to learn how to create a retro image inspired by surrealism. Using several images, a few brushes and some textures, we’re going to make a seamless image of a girl holding a picture of an open mouth while half of her body is underwater together with a fish. We’re going to learn how to blend these images together so that they would really look like they’re underwater. Also, we’re going to learn how to make the viewer see both underwater and above-water and then we’ll learn how to blend textures and adjust the colors to give it a retro feel and many more.
Preview of Final Results
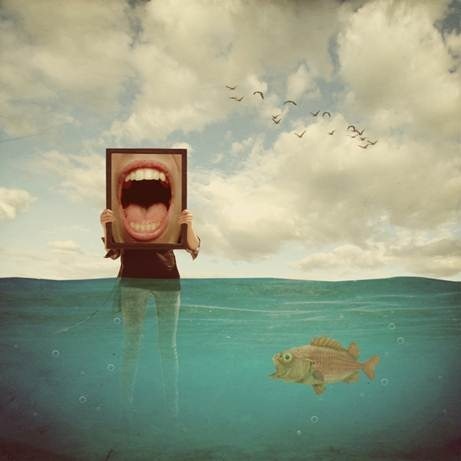
Download the PSD
Retro Surreal Photo Manipulation.zip | 135.23 MB
Download from FileSonic
Download from Website
Retro Surreal Photo Manipulation Photoshop Tutorial
Resources
- 36 underwater stock – winkstock
- Sunny Field – frozenstocks
- Bubbles – hawksmont
- Bird Brushes II – lpdragonfly
- Scary Fish – xNickixstockx
- Model 36 – night fate stock
- Mouth Detail Front – Della-Stock
- Paper Texture 1 – wojtar-stock
- Old Paper 37 stock – ofruin-stock
Step 1: Create a New Photoshop Image File
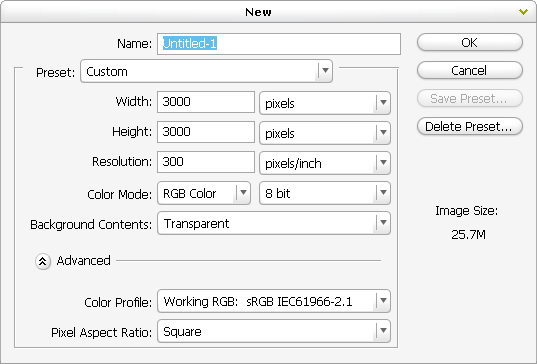
Okay, to start, let’s create a new image file, go to the Menu bar and click File > New, and then input the following values on their respective fields:
- Width: 3000px
- Height: 3000px
- Resolution: 300pixels/inch
- Color Mode: RGB Color; 8 bit
- Background Contents: Transparent
STEP 2: Create the Sea
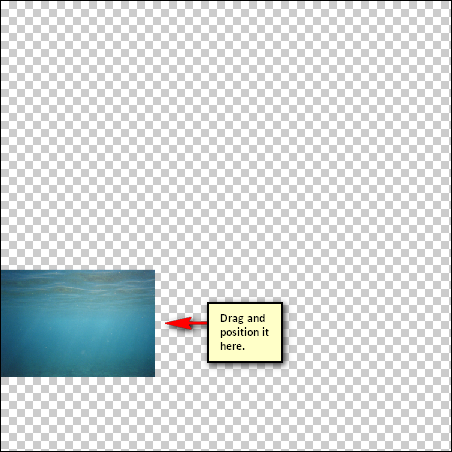
In this step, we will be creating the sea which is the foreground of our picture. To start, open the image “36 underwater stock” by winkstock. Once you have it open, simply activate the Move tool (V) and drag it to our canvas. See the images below:
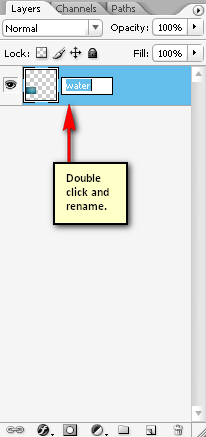
Once done, rename this layer to “water”. To rename a layer, simply double-click on the words: “layer 1” (that is our sea image) to prompt a text box to appear. Once that appears, you may now rename the layer.
Now that you’ve renamed it, we will resize this image. To resize it, activate the Transform tool by pressing Ctrl/Cmd + T. Follow the instructions on the image below:
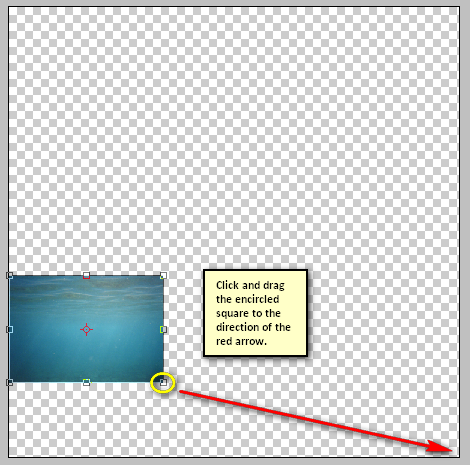
The result should be similar to this:
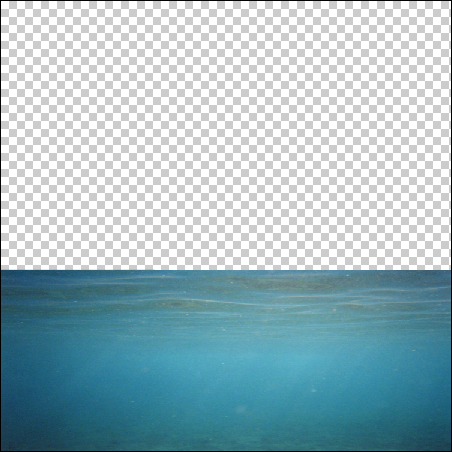
After you’ve transformed it, we will now make the viewer feel that he/she is seeing both underwater and above-water. To start, activate the Polygonal Lasso tool by pressing L on your keyboard.
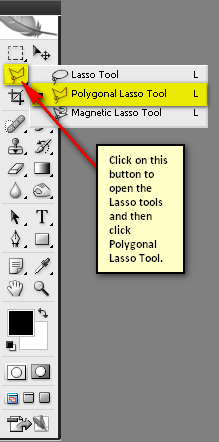
Once you’ve done that, follow the instructions below:

The result should be similar to the following:
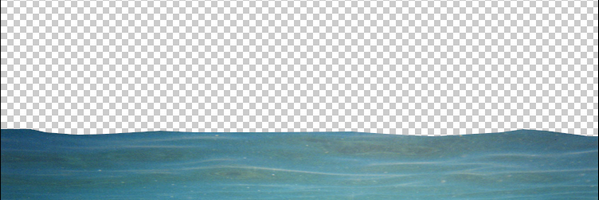
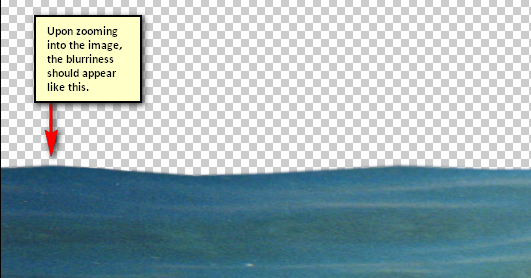
After doing that we would have to make this cut look seamless, so we would need to blur the edge of this sea. To do that, activate the Blur tool by pressing R on your keyboard.
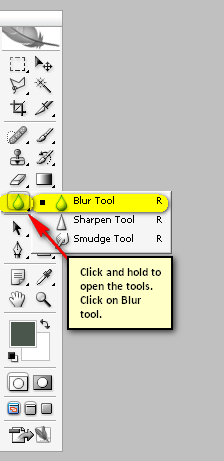
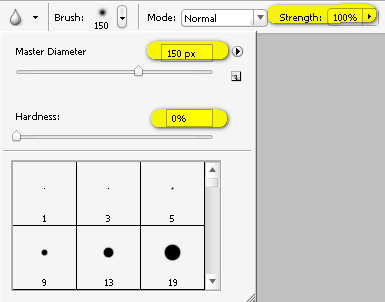
When its activated, change its settings to the following:
- Brush size: 150px
- Hardness: 0%
- Mode: Normal
- Strength: 100%

The result:
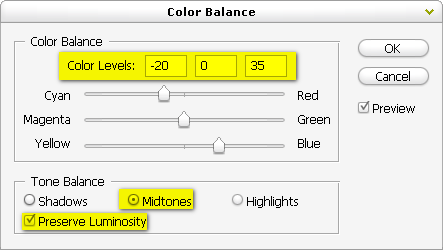
Now, let’s change the water’s color. To do that, click on its layer and go to Image > Adjustments > Color Balance. Once open, use the following settings:
- Color Levels: -20, 0, +35
- Tone Balance: Midtones
- Preserve Luminosity: Checked
The resulting color should be similar to the following:
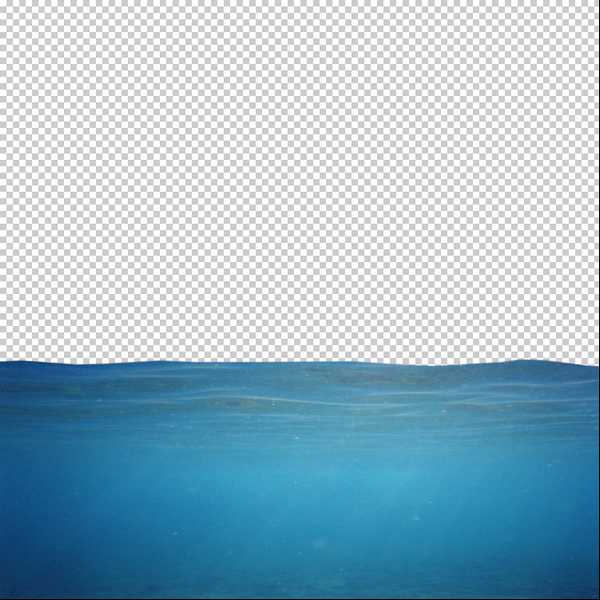
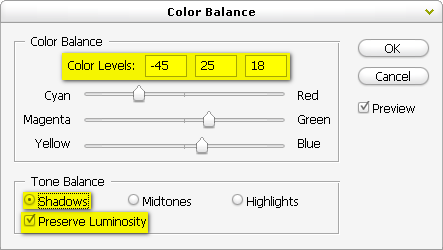
Again, let’s adjust its color, this time we will be dealing with the tones of the water’s shadows. Start by clicking on the layer again and go to Image > Adjustments > Color Balance. Once open, use the following settings:
- Color Levels: -45, +25, +18
- Tone Balance: Shadows
- Preserve Luminosity: Checked
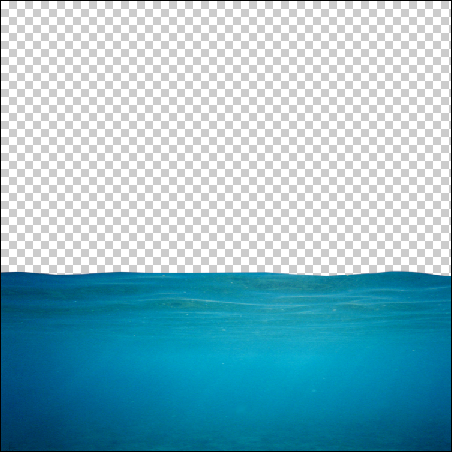
The result:


0 komentar:
Posting Komentar